My Blog
Shopify Product Images: 7 Ridiculously Simple Tricks to Boost Your Sales Today
Good product images can make or break your Shopify store. They’re often the first thing customers notice, and they play a huge role in whether someone decides to buy from you.

Good product images can make or break your Shopify store. They’re often the first thing customers notice, and they play a huge role in whether someone decides to buy from you.
Shopify allows you to upload high-quality product images up to 4472 x 4472 pixels (20 megapixels), giving you plenty of room to showcase your products in the best light possible.
We know getting your product images right can feel overwhelming. From choosing the right file type (PNG and JPEG work best) to figuring out how many photos to include (you can add up to 250 images per product!), there’s a lot to consider.
But don’t worry – with a few simple tips, you’ll be creating eye-catching product listings that convert browsers into buyers.
Let’s dive deeper into everything you need to know about Shopify product images, including size recommendations, file types, and how to use 3D models and videos to give customers an even better understanding of what you’re selling…
Picture Perfect Product Pages
Creating stunning product pages isn’t just about having great products—it’s about showcasing them effectively with high-quality images that sell. The right photos can make your Shopify store stand out and drive conversions.
Choosing the Right Images
When selecting product images for your Shopify store, quality matters more than quantity. We recommend using square photos between 800 x 800 and 2048 x 2048 pixels for optimal display.
Here are some tips for selecting winning product images:
- Show multiple angles of each product to give customers a complete view
- Include lifestyle shots that show your product in use
- Make sure lighting is consistent across all product photos
- Use a clean background (usually white) for your main product images
- Add zoom functionality so customers can see details
Don’t forget to include context photos that help customers understand size and scale. For less than $50, you can create your own mini photo studio with simple equipment!
Image Optimization for SEO and Speed
Great-looking images won’t help if they slow down your site. Optimizing your product photos is crucial for both user experience and search rankings.
Follow these optimization best practices:
- Compress images before uploading to reduce file size without losing quality
- Use descriptive, keyword-rich alt text for every product image
- Name your image files with relevant keywords (like “blue-cotton-t-shirt.jpg”)
- Consider using the WebP format for faster loading times
Page speed affects both user experience and your SEO performance. A one-second delay in page loading can reduce conversions by 7%!
We’ve noticed rounded corners on product images are trending in 2025, making pages look more modern. This small design tweak can really improve the overall feel of your product pages.
Managing and Uploading Your Images Like a Pro
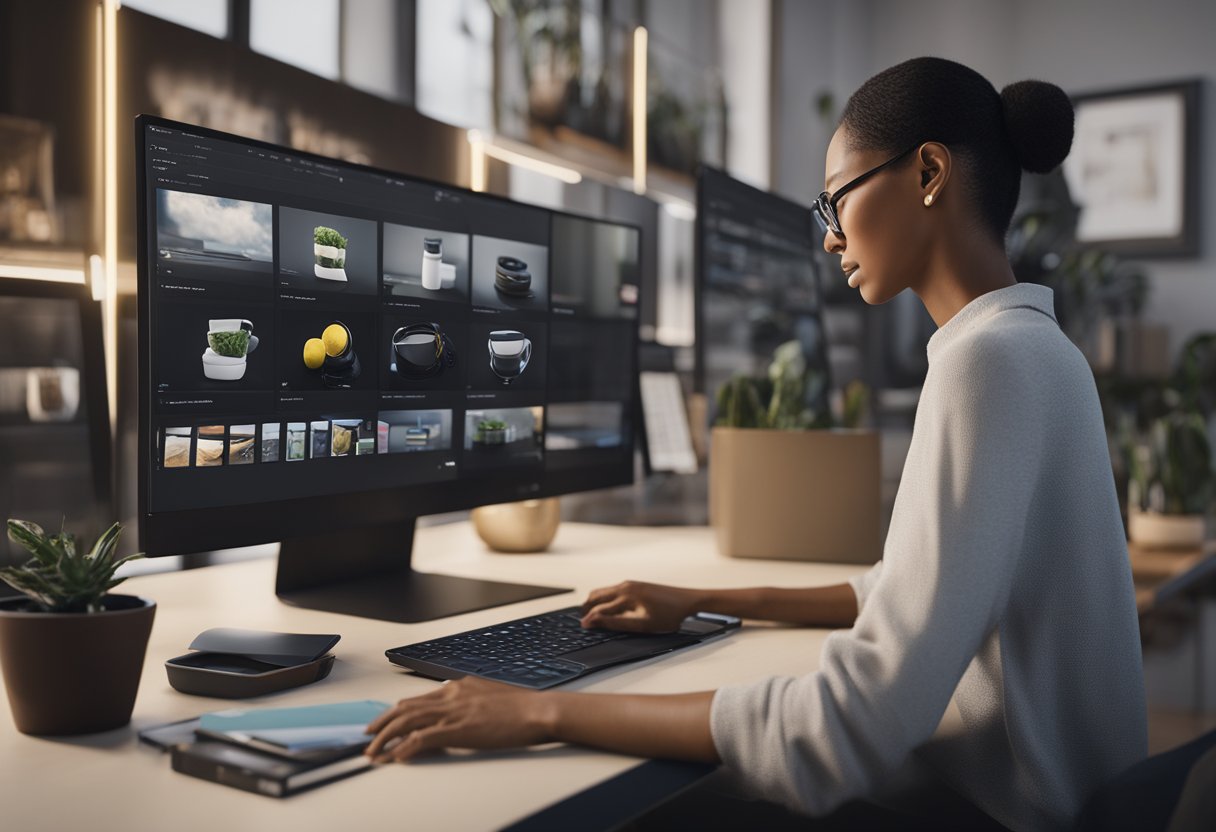
Getting your product images right can make or break your Shopify store’s success. The right approach to image management saves you time while making your store look polished and professional.
Navigating the Shopify Admin Interface
Shopify gives you two main ways to upload your gorgeous product photos. You can add images directly through the theme editor when you’re designing your store’s look. Super handy for those hero shots and banner images!
For more serious image management, head to the Content > Files section in your Shopify admin. This is your image command center! Here you can:
- Upload images individually or in bulk
- Organize files into folders
- Search for specific images
- Delete outdated photos
Pro tip: Use the drag-and-drop feature to quickly add images to your library. No need for complicated uploading processes! When you’re ready to add these to products, you can easily select them from your library.
Variants and Views for Each Product
Every product deserves multiple angles and options. For products with variants (like different colors or sizes), you’ll want dedicated images for each option.
Here’s a simple approach:
- Upload your main product image first
- Add 3-5 supporting images showing different angles
- Include specific images for each variant
- Consider adding lifestyle images showing the product in use
The Image Manager tool lets you bulk upload and then drag-and-drop images to the right products and variants. This is a huge time-saver when you’re dealing with hundreds of items!
Try to maintain a consistent image count across similar products. It looks more professional and helps customers know what to expect.
Creating a Consistent Style
Your product images should tell a cohesive visual story. Think of them as your digital sales team – they need to look like they belong together!
Establish these basics for all product photos:
- Background: Either all white/transparent or consistent styled backgrounds
- Lighting: Similar brightness and shadow style
- Dimensions: Standard sizing (we recommend 2048 x 2048 pixels square)
- Composition: Similar framing and product positioning
Remember that mobile users see smaller images, so keep your products clear and centered. Avoid cluttering the frame with unnecessary elements.
Consider creating a simple style guide document. This should have examples of “good” and “bad” product images to help anyone who might upload images to your store in the future.